Page 19 of 41

Re: Woo Hoo! A Big Project!

Posted: Fri Nov 25, 2011 10:15 pm
by melville
Hey patient peeps! Still working on it, got some stuff coming for it, but a little four-wheeled delay:

Image

It's not all bad news--this same motor was blown up when I started this Airhead project, and I made great progress doing an hour or a day on one, and an hour or a day on the other. $$$$ becomes even more of an issue, though.

Re: Woo Hoo! A Big Project!

Posted: Mon Nov 28, 2011 12:41 am
by mattcfish
melville wrote:Hey patient peeps! Still working on it, got some stuff coming for it, but a little four-wheeled delay:

Image

It's not all bad news--this same motor was blown up when I started this Airhead project, and I made great progress doing an hour or a day on one, and an hour or a day on the other. $$$$ becomes even more of an issue, though.
I've felt your pain.
Image
Image

Re: Woo Hoo! A Big Project!

Posted: Mon Nov 28, 2011 11:49 am
by Major Softie
mattcfish wrote: Image
It's too bad about the bottom of that rod being broken. I think it makes it not worth trying to straighten...

Re: Woo Hoo! A Big Project!

Posted: Mon Nov 28, 2011 11:55 am
by melville
Major Softie wrote:
mattcfish wrote: Image
It's too bad about the bottom of that rod being broken. I think it makes it not worth trying to straighten...
Even us Airhead folk are not that cheap! I do wonder about welding the three pieces of my valvespring together, though....

Re: Woo Hoo! A Big Project!

Posted: Mon Jan 09, 2012 10:55 am
by melville
Yeah, been away from this for a little bit. Since I last checked in, I've installed a Caswell tank lining kit. It went well enough, but would have gone a lot better if the ambient temperature had been more than 45 deg F. I put the tank and Caswell stuff in a Bus with a space heater going full blast, but had a hard time keeping it over 60 deg F while curing. It filled the seams well, but some bare areas remain toward the top and front of the tank.

Meanwhile, I replaced the steering box in the Kombi, blew up the motor in the Westy, and am working on reanimating the Bus that has been serving as my project shed these last coupla years.

However, the money tree is about to bear fresh fruit, and I'm getting the last bits ready. On to the next item to be BLINGED!

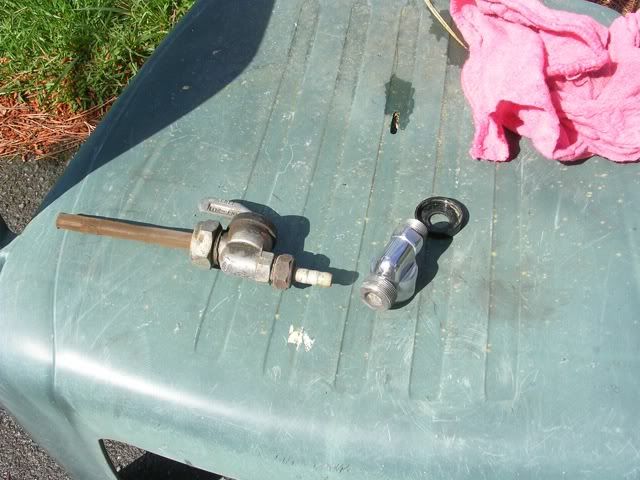
The petcocks. The one on top was disassembled and cleaned a while ago, then loosely reassembled waiting for replacement seals and washers. Today I took it apart again to clean up the exterior and start the bling process:
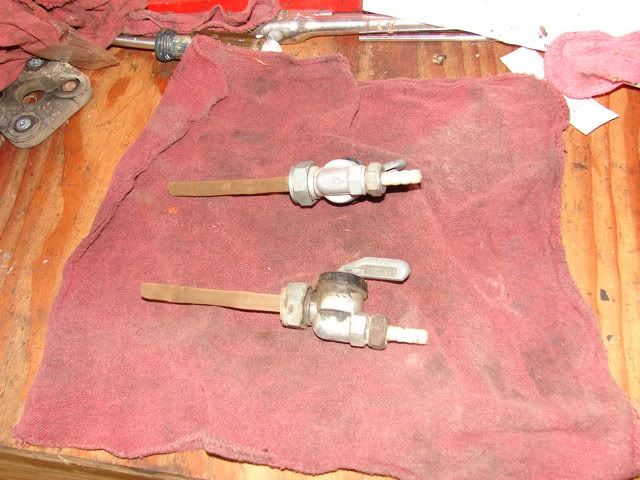
Image

Once apart, I had to protect the fine AL threads on each end of it. I wrapped them in electrical tape, then surrounded the tape with spare hose clamps from the Bus reanimation project:
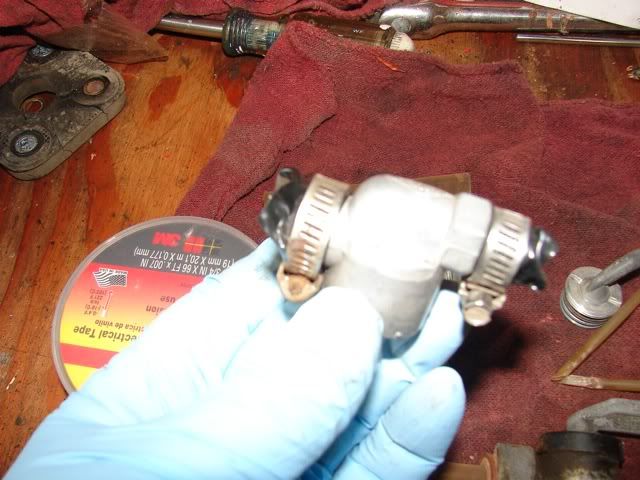
Image

This made it easy to clamp the body in the vise:
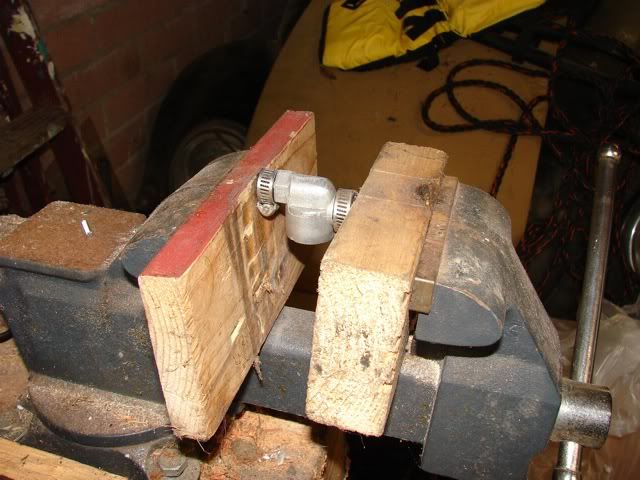
Image

And shoeshine the various burrs, part lines, and logos off it, leading to this:
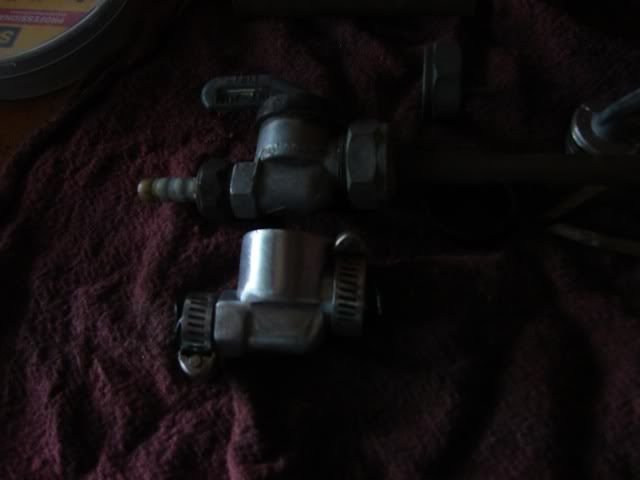
Image

My apologies for the crap pix today--my usual camera has turned up missing and I've not figured out how to get what I want from the much nicer one I borrowed from the older boy.

Re: Woo Hoo! A Big Project!

Posted: Sat Mar 17, 2012 9:14 pm
by melville
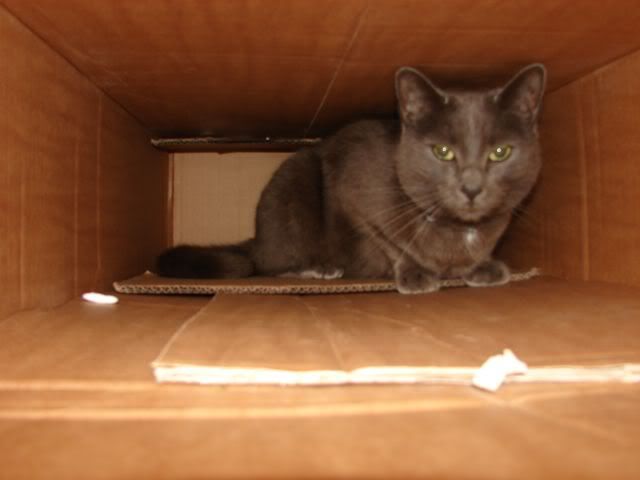
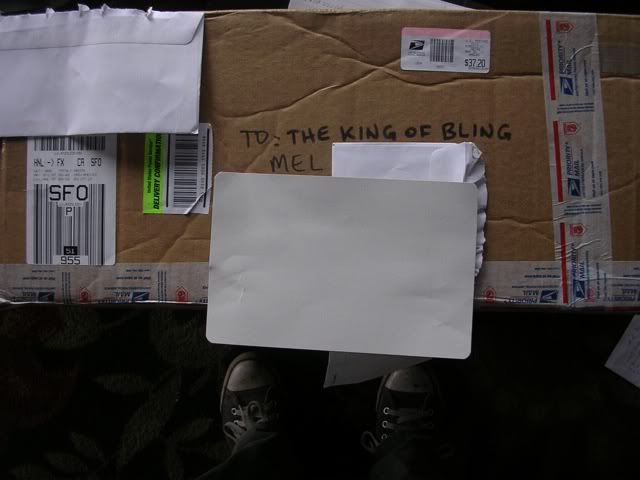
So for my birthday I got a swell fine MotoBins pattern /6 seat, all the way from England. The cat loved the box:

Image

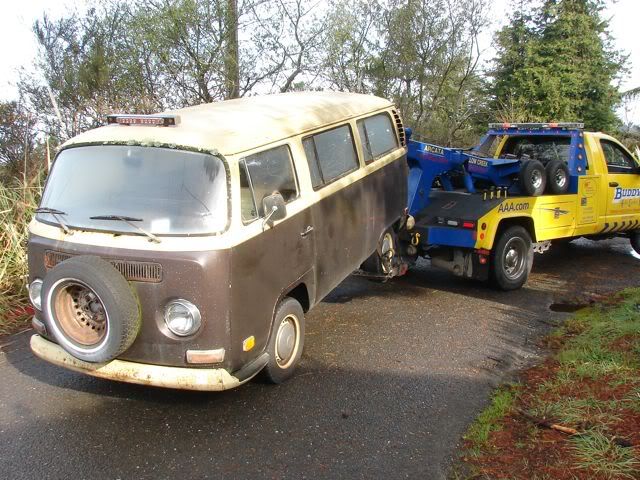
Now that was 6 weeks ago, and I've been working every day since. However, today I had a work interruption:

Image

And had to come home to fix that while the weather held. It turned out to be an easy fix, so I had time to fiddle with the motorbike while the sun shone and the Giants spring training game came over the radio. Hearing Jon Miller's voice always makes it feel like summer.

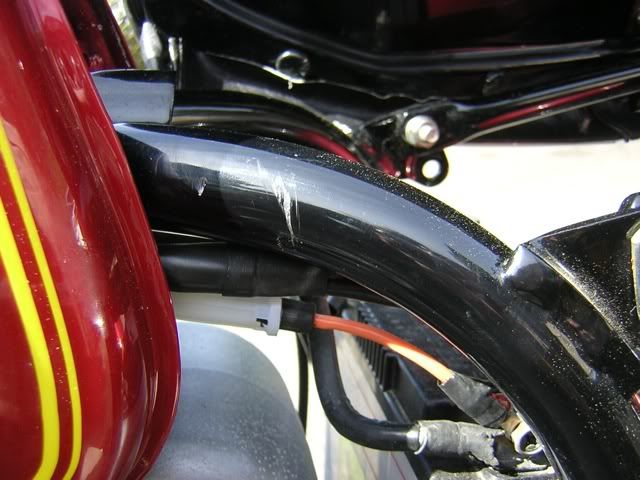
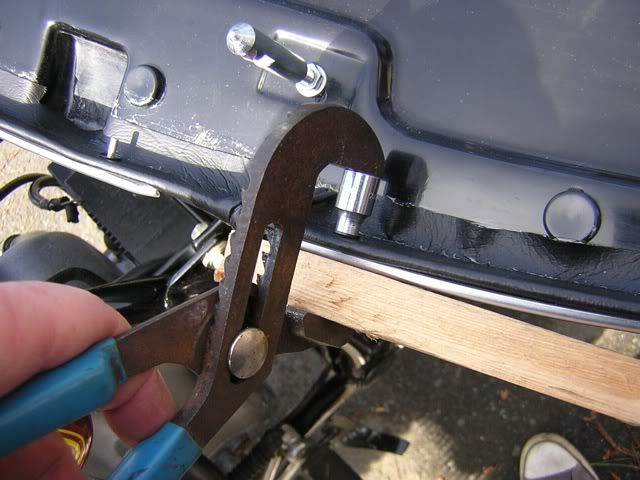
The seat is nice, but it had some issues. The pins that secured the trim on the lower edge were left a bit long, and one of them left this scratch in my powdercoat:

Image

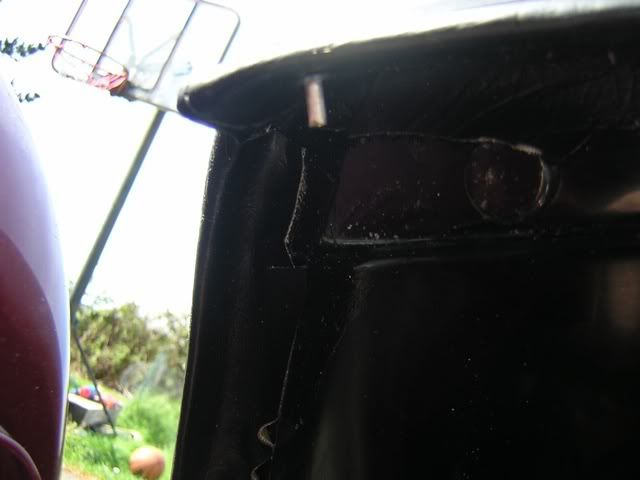
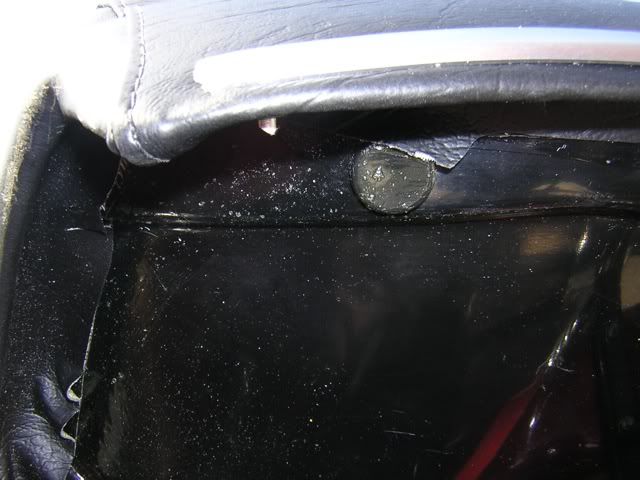
I touched it up with a Sharpie, and went to the problem of the pins. When they are left long like this:

Image

They touch the frame in a couple places, and not only do they scratch the frame, but they get pushed out and the trim starts sitting free of the seat. So I pressed them all in a bit:

Image

And cut them down:

Image

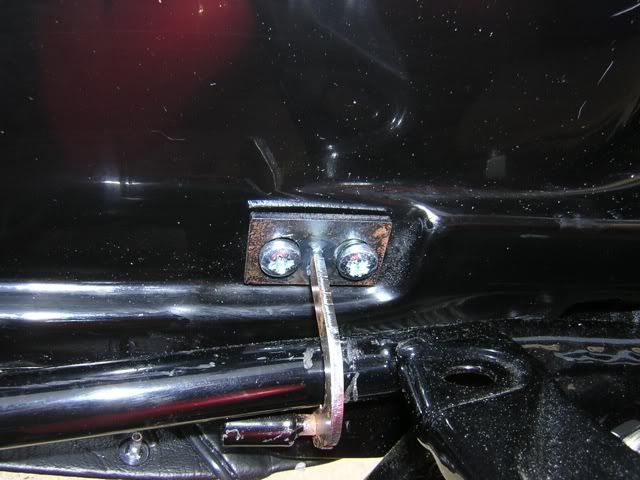
The seat came with these screws to hold the hinges on:

Image

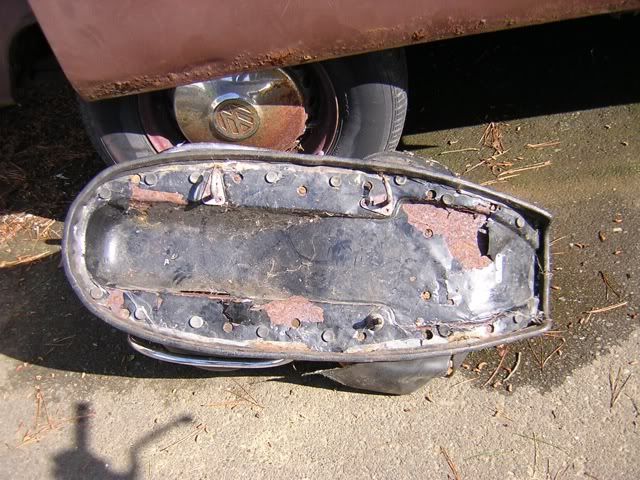
For the life of me I can't figure out how one tightens them. Easy enough to do off the bike, but then I can't get the hinges on the pins without gouging the fender. So I went to the hardware store and got hex head cap screws and everything is peachy now. I'd have done Duane's lift-off seat mod, but the screws are in the wrong place to do it. I'd like to eventually refurbish the old seat pan and go to Rick Mayer's for a custom Giuliari style seat, but it could be a bit of work:

Image

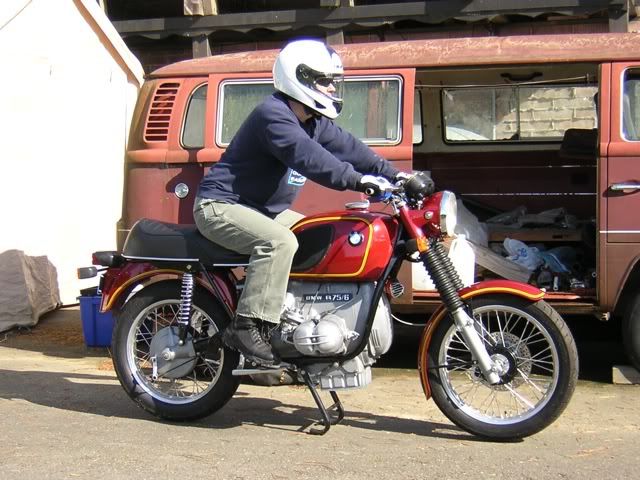
Giving the new seat the ass test:

Image

And it passes!

Re: Woo Hoo! A Big Project!

Posted: Sat Mar 17, 2012 11:30 pm
by Mal S7
Hi Melville, very much enjoy your write-up and photos of your time-lapse project. The volkswagens approve I am sure.
Is there now an ETA to get the 75 rolling? Isn't it Spring-ish there?

cheers
Mal

Re: Woo Hoo! A Big Project!

Posted: Sat Mar 17, 2012 11:56 pm
by melville
Mal S7 wrote:Hi Melville, very much enjoy your write-up and photos of your time-lapse project. The volkswagens approve I am sure.
Is there now an ETA to get the 75 rolling? Isn't it Spring-ish there?

cheers
Mal
ETA is soon after April 15th, which is a deadline at work for me, and by which time I should have a buncha overtime pay. All that remains are some small bits and an exhau$$$t system.

Re: Woo Hoo! A Big Project!

Posted: Sun Mar 25, 2012 7:10 pm
by melville
So I broke the string at 48 straight days at the Number Factory. The weather was not promising this morning, but eventually the sun came out and things were awesome. I spent the day like a cat, getting up and killing a mouse or two, then going back for a nap. Good times. One mouse took the form of finishing the polish on the petcock body. It's a difficult thing, with many nooks and crannies, but for the most part those aren't visible when mounted. Here's one finished, and the other still in 'before' condition:

Image

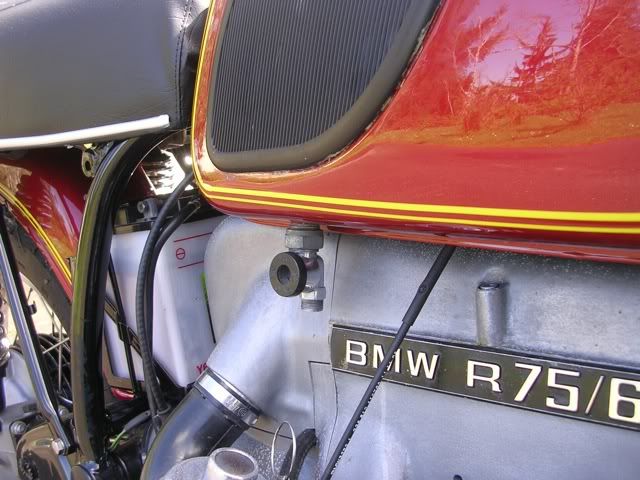
Mounted, with the outer cap in place:

Image

In other news, some SS headpipes are on their way here from Hawai'i (thanks, Timo!). Sitting here, listening to loud pipes saving lives on 101 this sunny Sunday, has me contemplating running it with open headers.


But I'll probably get muffler$ first.

Re: Woo Hoo! A Big Project!

Posted: Sun Apr 01, 2012 6:08 pm
by melville
Skipped work again today when it appeared there'd be a window when it wasn't POUNDING DOWN RAIN. Walked the dogs mit the older boy, got the big city paper, and sat and read it a while until things warmed up outside.

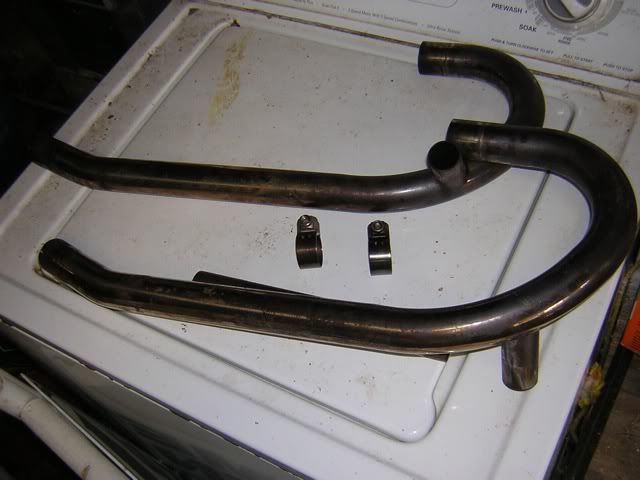
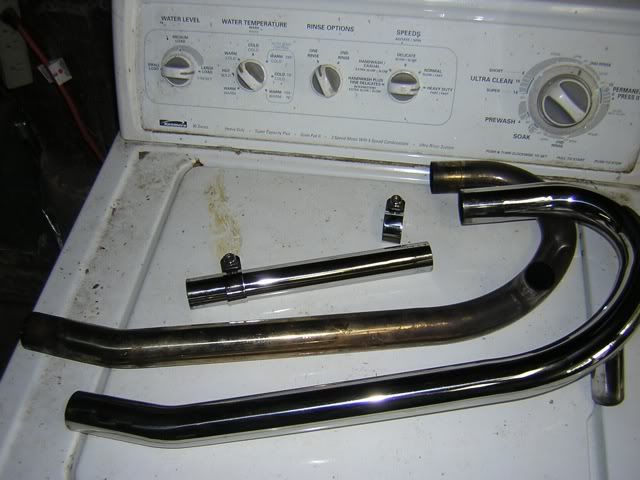
Last week, I became aware of some used Keihans SS headpipes for a good price, and I jumped on the deal. They arrived Friday in good order. The seller is an interested observer of this project (thanks Timo!):

Image

They were a little bling deficient:

Image

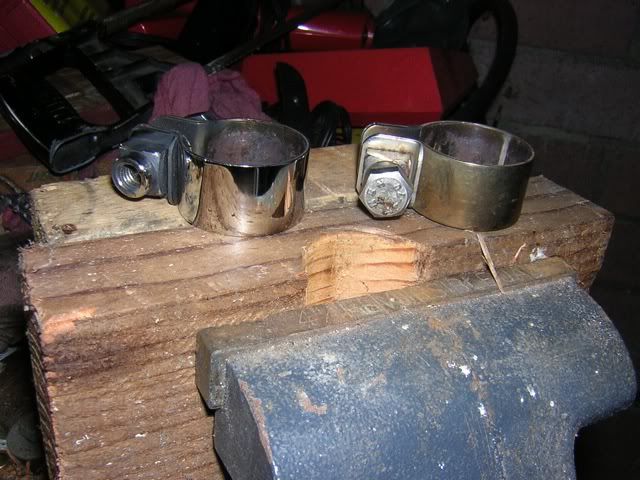
No worries, for (in gspd's absence) I am the KING! I tried the balance pipe clamps first. They cleaned up quickly:

Image

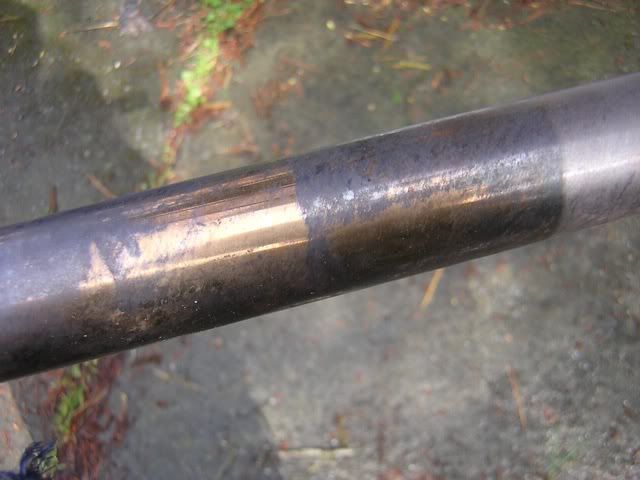
I then went on to the balance pipe:

Image

Image

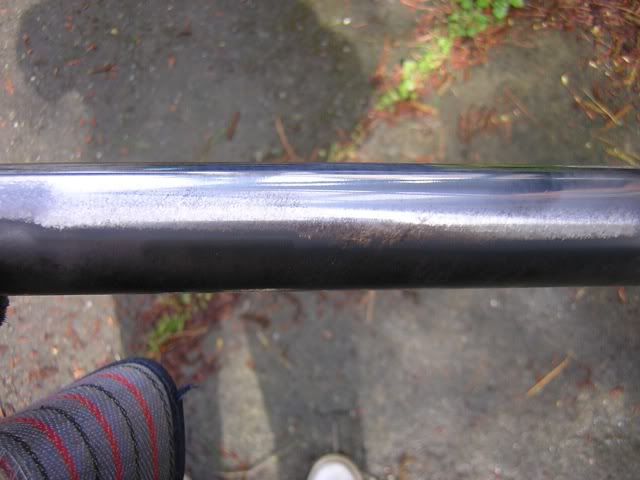
It was a bit more work, as it had been hotter than the clamps. Then I did the right headpipe. It was a lotta work, but I think it's looking pretty good:

Image

Image

This week I should get all the small bits I need short of the mufflers and I may get some time to work on it next weekend.