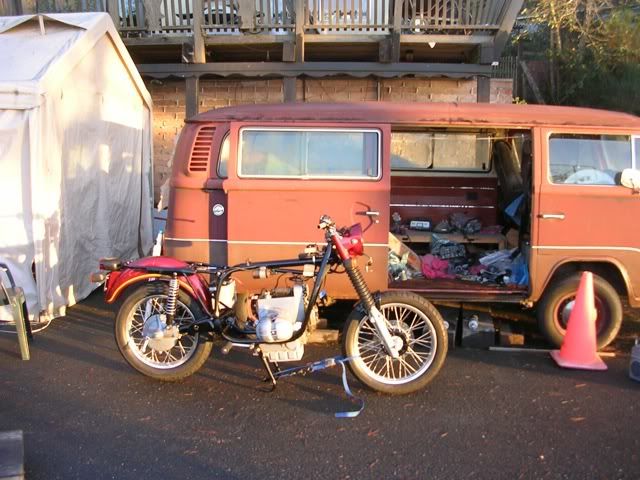
Woo Hoo! A Big Project!

Discuss all things 1970 & later Airheads right here.
User avatar
melville
Posts: 1814
Joined: Tue Aug 03, 2010 8:32 am

Re: Woo Hoo! A Big Project!

Post by melville »

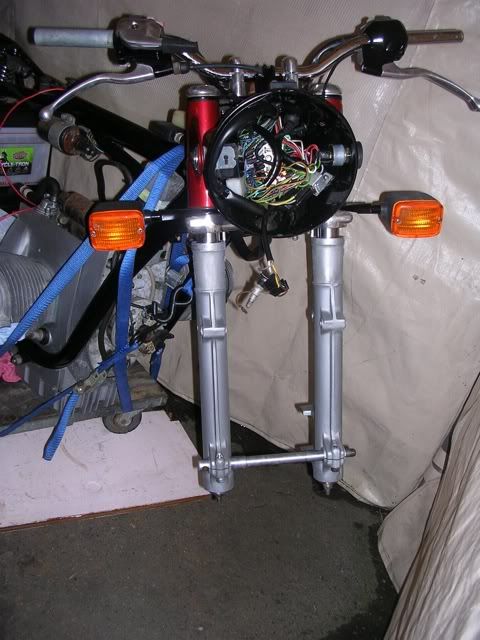
Nothing happening too quickly here. It's been raining and cold, and I just survived 36 hours of in-laws ('twas a good time), and now I'm back to it. Continuing with the fork, I slid a board under the front wheels of the dolly to get the front end up enough to install both sliders simultaneously and had at it. First I shoved both sliders up all the way, then installed the axle:

Image

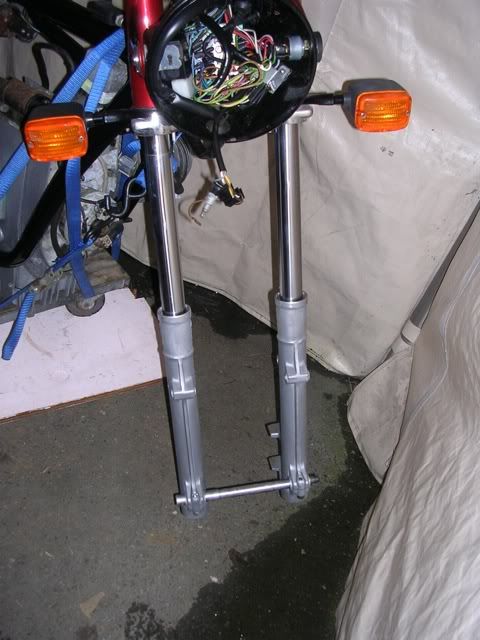
Then let them slide down to check for binding:
Image

I had some issues with the vent holes on the right stanchion. They needed some deburring to get everything to run smoothly.

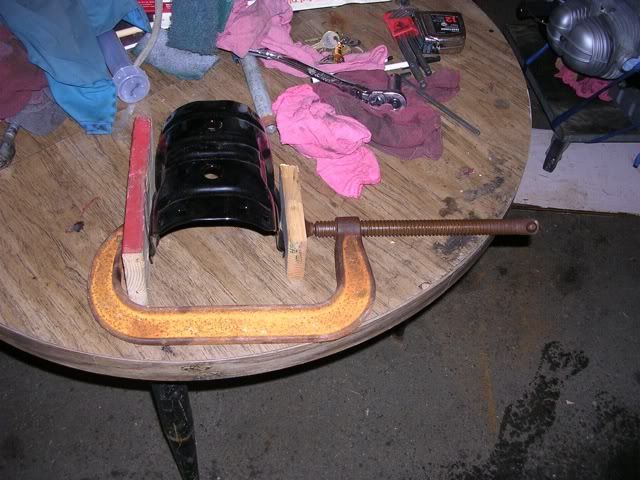
Then it was time to check the fork brace/fender mount. It was, after 35 years of abuse and sandblasting and powdercoating, a couple mm too wide for the space available. Had to give it a wee squeeze:
Image

And then things were great:

Image

My bottom caps were rusty. While they cleaned up nicely with a wire brush, they soon showed surface rust. I rebrushed them and after installing them in the sliders:
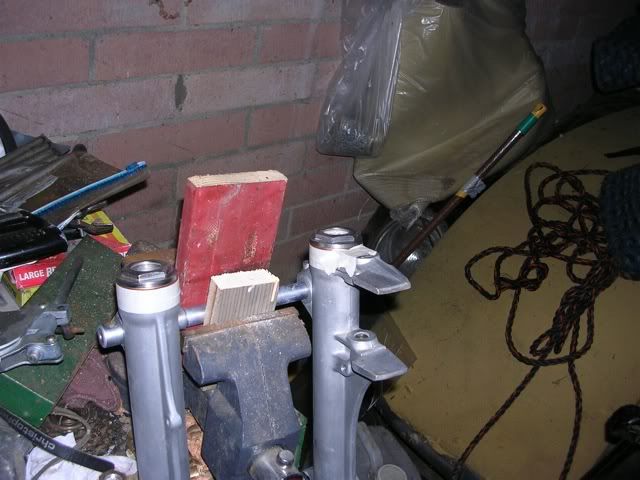
Image

I painted them with the caliper paint that I didn't use on the caliper:
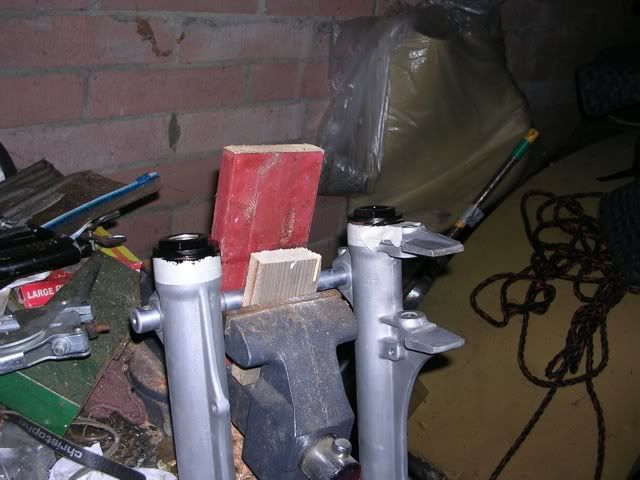
Image

With the weather we've been having, they'll be dry sometime next spring. I may sneak them into a warm part of the house when Mrs. melville isn't looking.
Call me Mel. Some years ago- never mind how long precisely- having little or no money in my purse, and nothing particular to interest me at home, I thought I would ride about a little and see the other parts of the world.
Chuey
Posts: 7632
Joined: Mon Aug 02, 2010 11:56 pm

Re: Woo Hoo! A Big Project!

Post by Chuey »

Last shot: toe strap in lower left corner. Where would we be without toe straps? :)

Chuey
User avatar
melville
Posts: 1814
Joined: Tue Aug 03, 2010 8:32 am

Re: Woo Hoo! A Big Project!

Post by melville »

Chuey wrote:Last shot: toe strap in lower left corner. Where would we be without toe straps? :)

Chuey
That's wrapping a bag with disassembled Lyotard platforms inside that I must reassemble someday for my Raleigh International. Do you remember if it was 5/32 balls, 11 inner and 9 outer?

Then I can use the strap for the overnight brake bleed.
Call me Mel. Some years ago- never mind how long precisely- having little or no money in my purse, and nothing particular to interest me at home, I thought I would ride about a little and see the other parts of the world.
ME 109
Posts: 7306
Joined: Tue Aug 03, 2010 3:00 am
Location: Albury, Australia

Re: Woo Hoo! A Big Project!

Post by ME 109 »

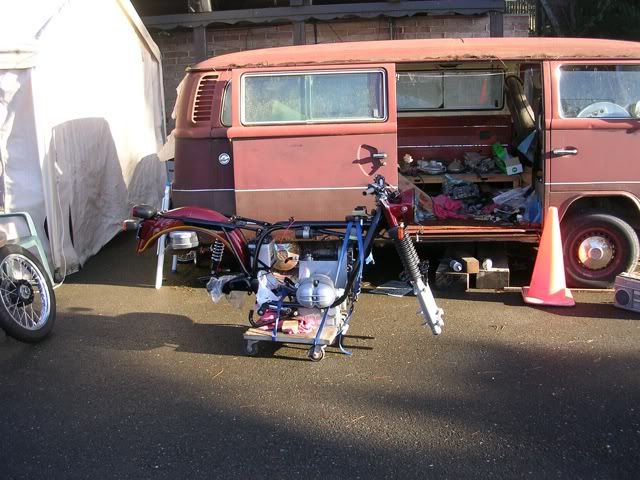
Chuey wrote:Cool Stuff! Only thing: in the last shot, it looks like your bike should be selling pencils on a busy sidewalk somewhere. :)

Chuey
You funny Chuey. :lol:
I've seen people do things like that to dogs that have lost thier rear drive.

Time to get your glass into gear Melville! (fork alignment)


0
Lord of the Bings
User avatar
melville
Posts: 1814
Joined: Tue Aug 03, 2010 8:32 am

Re: Woo Hoo! A Big Project!

Post by melville »

ME 109 wrote:
Chuey wrote:Cool Stuff! Only thing: in the last shot, it looks like your bike should be selling pencils on a busy sidewalk somewhere. :)

Chuey
You funny Chuey. :lol:
I've seen people do things like that to dogs that have lost thier rear drive.

Time to get your glass into gear Melville! (fork alignment)
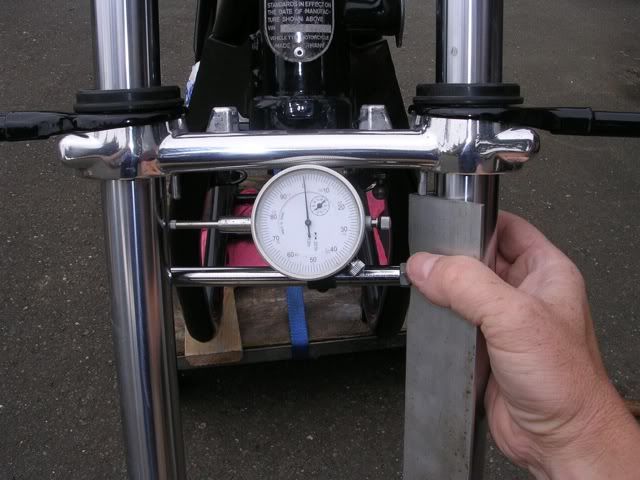
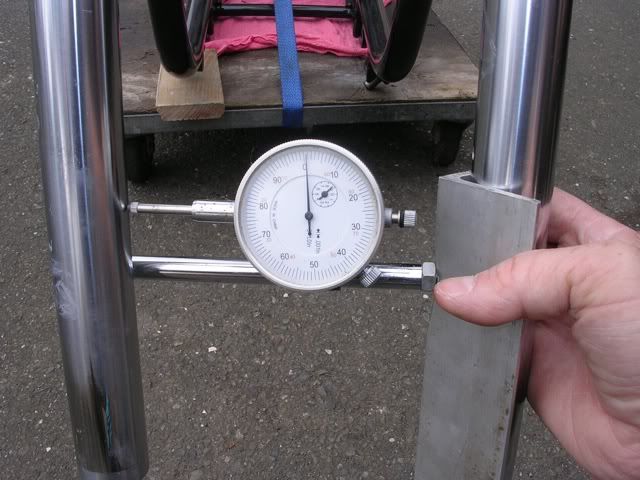
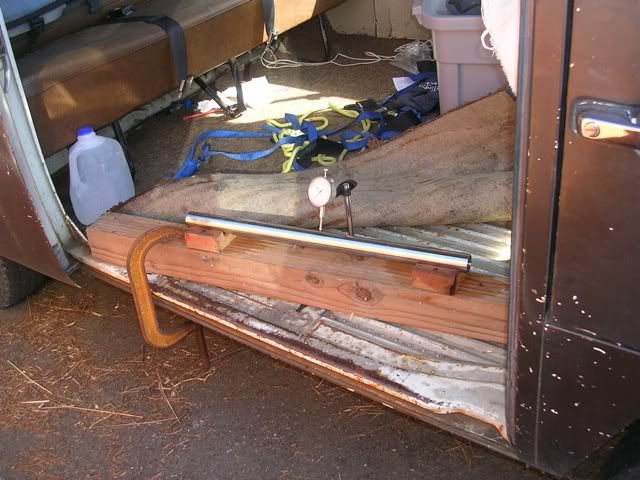
Oh, but I have! I think we were between boards when I did this. Checking the fork tubes on my high precision Kombi fixture--all within .001 at the middle:

Image

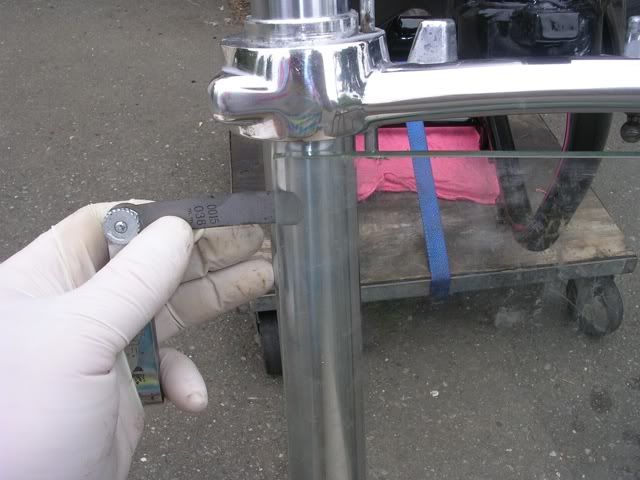
Fun with glass--I had no discernable rock and checked with a feeler gauge:

Image

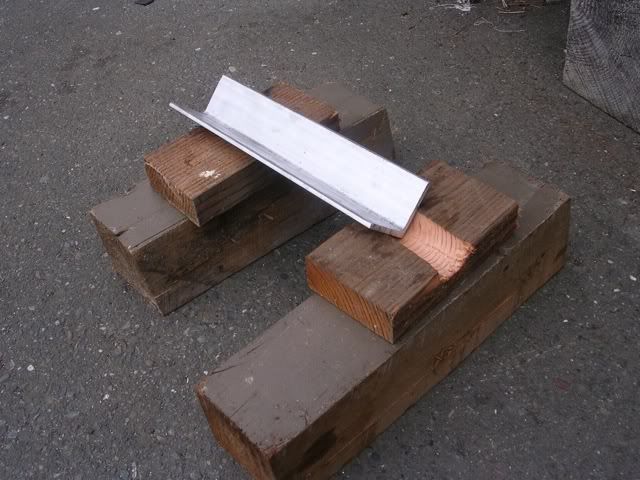
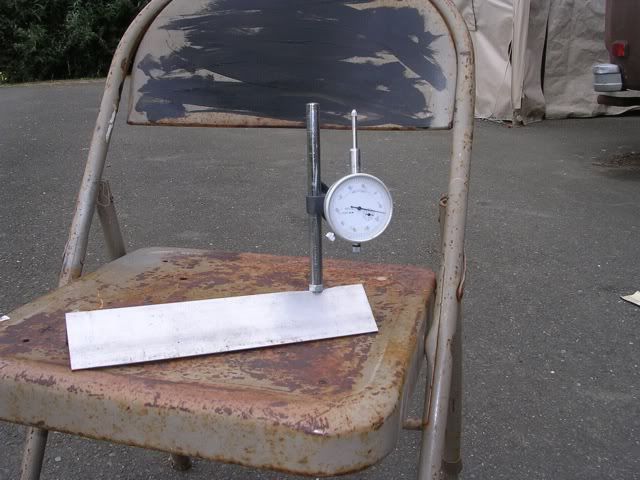
I made a parallelosity gauge:

Image

Image

And used it--< .001 from top to bottom:

Image

Image

It's miserable rainy today. I'm not sure I'll be doing much. I did put a space heater in the Kombi and ran it for a couple hours to cure yesterday's lower cap paint job. Mrs. melville was all about the NO when I inquired about drying the sliders in the house.
Call me Mel. Some years ago- never mind how long precisely- having little or no money in my purse, and nothing particular to interest me at home, I thought I would ride about a little and see the other parts of the world.
ME 109
Posts: 7306
Joined: Tue Aug 03, 2010 3:00 am
Location: Albury, Australia

Re: Woo Hoo! A Big Project!

Post by ME 109 »

Excellent Melville!
I love to improvise (financially forced to improvise) when carrying out various tasks.
It is amazing what can be done with minimal tools and materials. :idea:
Lord of the Bings
User avatar
melville
Posts: 1814
Joined: Tue Aug 03, 2010 8:32 am

Re: Woo Hoo! A Big Project!

Post by melville »

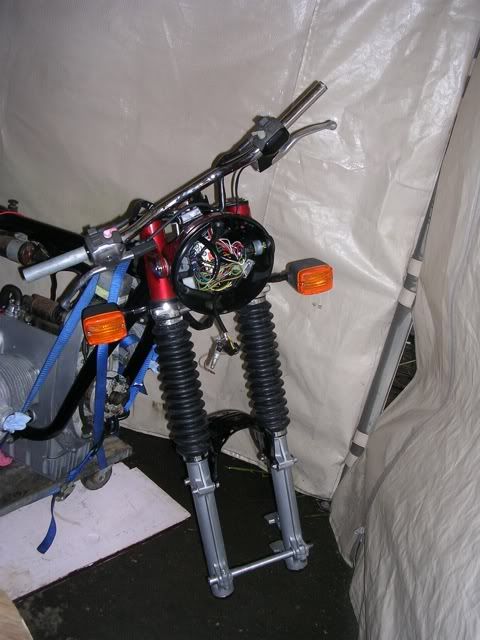
Got out for an hour or so between raindrops. Paint was dry on the caps, so I proceeded. The sliders are now secured to the damper rods and the boots are installed:

Image

Next up is getting the oil into the fork and securing the tops.
Call me Mel. Some years ago- never mind how long precisely- having little or no money in my purse, and nothing particular to interest me at home, I thought I would ride about a little and see the other parts of the world.
Chuey
Posts: 7632
Joined: Mon Aug 02, 2010 11:56 pm

Re: Woo Hoo! A Big Project!

Post by Chuey »

melville wrote: That's wrapping a bag with disassembled Lyotard platforms inside that I must reassemble someday for my Raleigh International. Do you remember if it was 5/32 balls, 11 inner and 9 outer?

Then I can use the strap for the overnight brake bleed.
Uncanny! I have Lyotard platforms on a couple of my bikes. I also have a 1971 Raleigh International. I had one when it was new, 1971. Sold it when I bought one of the first DeRosas in the country. My International rides so great. Workmanship is awful, but the look and ride are great. You should check out White Ind. They have made a super nice billet/CNC version of the Lyotard Platform.

Chuey
User avatar
melville
Posts: 1814
Joined: Tue Aug 03, 2010 8:32 am

Re: Woo Hoo! A Big Project!

Post by melville »

Oh hell yeah! Big progress today, and a possible setback.

Oil in the fork, springs in, caps on and torqued:

Image

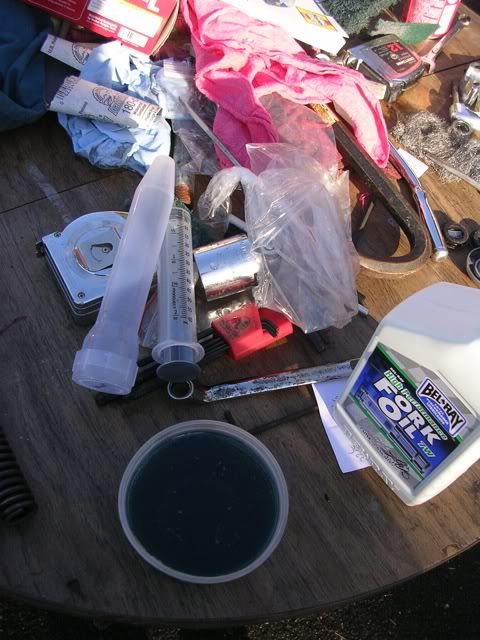
7 weight oil. That is not a marital aid, it's the cover to the syringe. $2 at the vet!:

Image

Front wheel on. Here's where I had the possible setback--the right slider had the old pinch bolt stuck in it. I left it with my local airhead guy and he did his best removing it, but the new bolt felt a bit soft before I got it to 10 ft-lbs. I'm going to come back to it in a bit, when I can put the bike on the centerstand:

Image

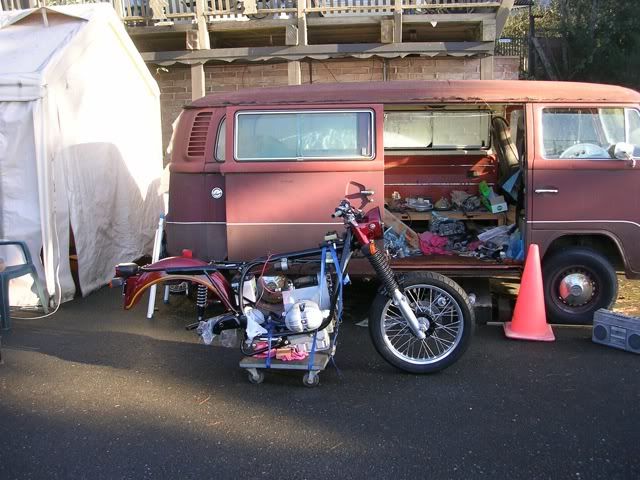
Final drive on, loosely until the rear wheel is in place:

Image

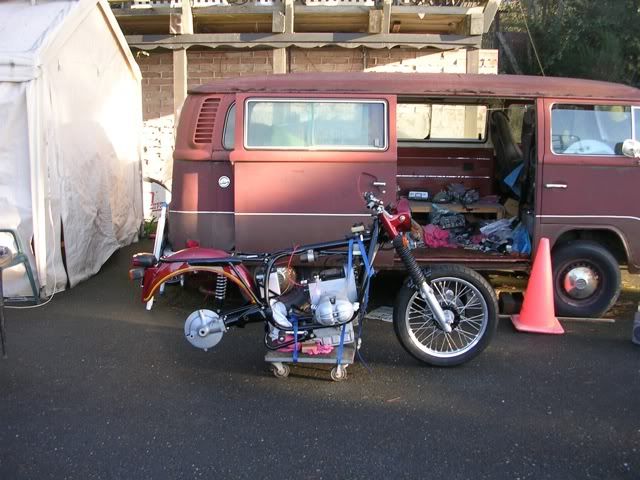
Rear wheel on, just like it had always been there:

Image

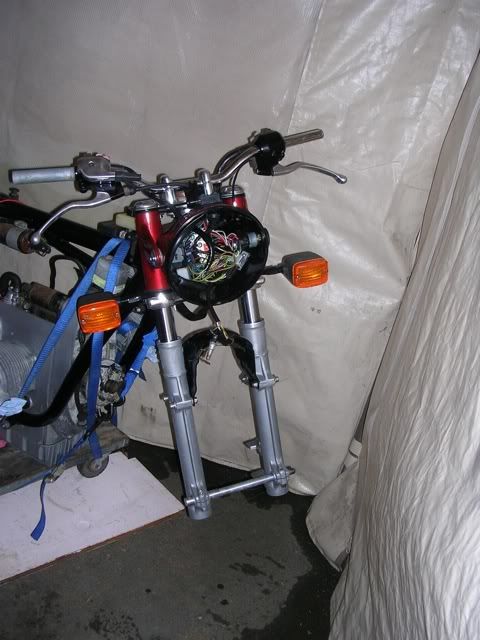
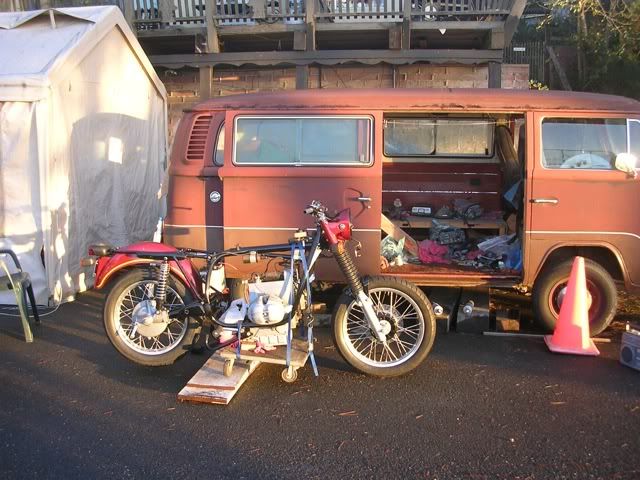
And now, no longer selling pencils on the sidewalk:

Image

Coming fun to include getting the #*&@&%$ springs on the stands, putting the rear brake pedal and linkage in place, checking the right slider pinch bolt, and (if pinch bolt successful) getting the front brake hydraulicized. If all that happens, I'm going to put the seat on and have the boys push me around the driveway while I make MC noises. Really.
Call me Mel. Some years ago- never mind how long precisely- having little or no money in my purse, and nothing particular to interest me at home, I thought I would ride about a little and see the other parts of the world.
Chuey
Posts: 7632
Joined: Mon Aug 02, 2010 11:56 pm

Re: Woo Hoo! A Big Project!

Post by Chuey »

A couple things:

First, the first time I put the springs on my center stand, I thought it was a trick of the devil to make me repent all my bad deeds. I hated it! I've not yet invested in a spring puller dealie, but I now have a trick that works. From making my cafe racer exhaust systems (I've made several), I have some tubing scraps. There was a piece about 1/8" wide. That makes it 36mm by 3 or 4 mm. I squished it down so it was like a loop of metal. I clamp that with some vise grips and pull the spring with that. It works pretty well and the decrease in cuss words was notable.

Second, if you need a left side slider, I think I have one and I'll send it to you. Let me know.

Chuey
Post Reply