Woo Hoo! A Big Project!

Discuss all things 1970 & later Airheads right here.
User avatar
melville
Posts: 1815
Joined: Tue Aug 03, 2010 8:32 am

Re: Woo Hoo! A Big Project!

Post by melville »

Thanks! Sneaky of those Krauts to use the same part, rerouted.

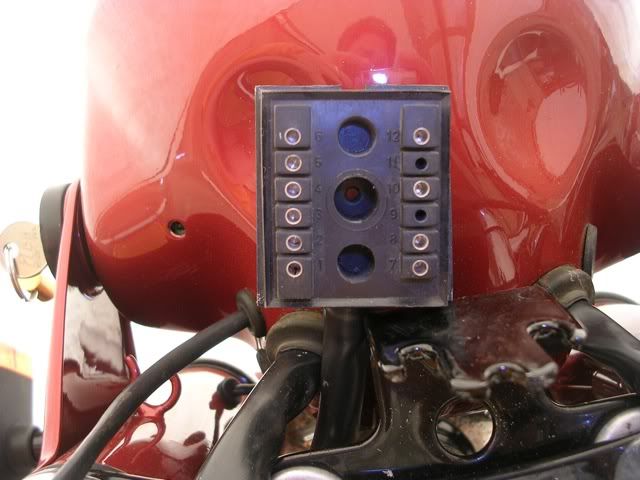
On to the next problem--does anyone out there have a reference for which pin does what on a 1975 /6? From the wiring diagram in my Haynes, some of these have the operative switch on the hot side and some on the ground side. I appear to have power at the plug but it may be getting lost in the instrument pod.
Image
Call me Mel. Some years ago- never mind how long precisely- having little or no money in my purse, and nothing particular to interest me at home, I thought I would ride about a little and see the other parts of the world.
User avatar
George Ryals
Posts: 510
Joined: Tue Aug 03, 2010 10:22 am
Location: Stone Mountain, GA

Re: Woo Hoo! A Big Project!

Post by George Ryals »

Mel, the brake cable on my '74 R90S is routed to the left side and under the neck lock just like your last cable picture. My bars are factory R90S bars. No problems with notchiness or tension lock to lock.
Smile it's contagious!
'74 R90S, '67 /2 Conv w/sc, '66 R50/2
'74 Harley FXE, '72 Harley FLH w/HD sc
'69 BSA 441 Victor Special, '74 R90/6 Basket case
'85 R80RT wreck for parts
User avatar
melville
Posts: 1815
Joined: Tue Aug 03, 2010 8:32 am

Re: Woo Hoo! A Big Project!

Post by melville »

George Ryals wrote:Mel, the brake cable on my '74 R90S is routed to the left side and under the neck lock just like your last cable picture. My bars are factory R90S bars. No problems with notchiness or tension lock to lock.
Thanks Tim and George! Cable is routed and is a lot smoother than I would have expected.

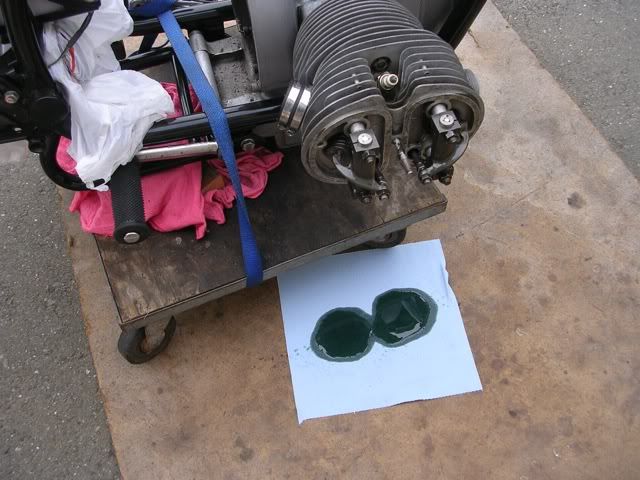
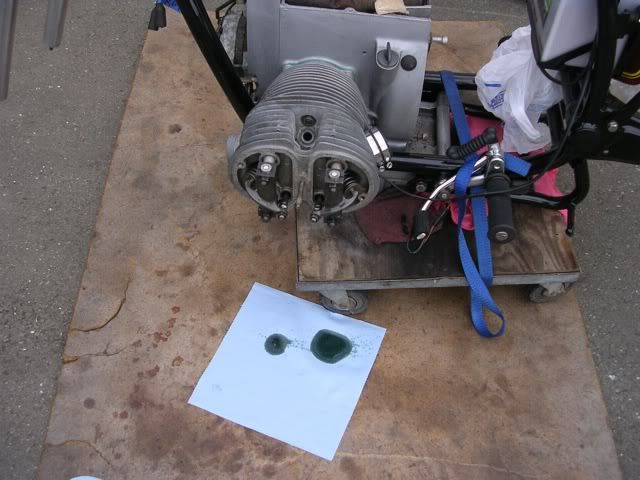
Today I fiddled about with the electrics, hoping to turn it over mit the starter button but had no success, so I cheated and held an old screwdriver across the terminals on the starter solenoid like I useta do on Mrs. melville's old 6V 15 window Bus. After a modest amount of turning over with the plugs out I got flow to all four rockers like so:

Image

Image

I noticed that the right side got flow first, then the left side intake and then left side exhaust. When I had flow to all four they seemed to be moving similar amounts of oil. A question for those who know the oil system layout: Does the order in which I saw oil to the rockers make sense?
Call me Mel. Some years ago- never mind how long precisely- having little or no money in my purse, and nothing particular to interest me at home, I thought I would ride about a little and see the other parts of the world.
ME 109
Posts: 7307
Joined: Tue Aug 03, 2010 3:00 am
Location: Albury, Australia

Re: Woo Hoo! A Big Project!

Post by ME 109 »

melville wrote: Does the order in which I saw oil to the rockers make sense?
Everything 'round here makes sense Melville. Just depends on how 'ya look at it
Lord of the Bings
mefrank11
Posts: 39
Joined: Fri Sep 10, 2010 9:19 pm

Re: Woo Hoo! A Big Project!

Post by mefrank11 »

melville wrote:Thanks! Sneaky of those Krauts to use the same part, rerouted.

On to the next problem--does anyone out there have a reference for which pin does what on a 1975 /6? From the wiring diagram in my Haynes, some of these have the operative switch on the hot side and some on the ground side. I appear to have power at the plug but it may be getting lost in the instrument pod.

Image
I have a 1975 r75/6 If you tell what you want to know if you tell me how to test it . You may just need the flex circuit thats in there . I think thats all there is in there for electric Frank
User avatar
melville
Posts: 1815
Joined: Tue Aug 03, 2010 8:32 am

Re: Woo Hoo! A Big Project!

Post by melville »

mefrank11 wrote:
melville wrote:On to the next problem--does anyone out there have a reference for which pin does what on a 1975 /6? From the wiring diagram in my Haynes, some of these have the operative switch on the hot side and some on the ground side. I appear to have power at the plug but it may be getting lost in the instrument pod.

Image
I have a 1975 r75/6 If you tell what you want to know if you tell me how to test it . You may just need the flex circuit thats in there . I think thats all there is in there for electric Frank
Thanks. I ended up opening the instrument pod myself anyway, and using that and my Haynes wiring diagram I come up with:

1. Hot for turn signals
2. Ground for oil pressure light
3. Hot for instrument lights
4. Ground for charge light
5. Ground for brake fluid light
6. Ground for neutral switch
7. Ground for high beam, dash lights, turn signals
8. Hot for high beam indicator
10. No connection in the pod
12. Hot for brake fluid, neutral, charge, and oil pressure

I'm playing with the pod and a multimeter looking for continuity today but I'm also distracted by football and later by the Giants going for #2 against the Phillies. Over the next week I'll check for the appropriate signals at the plug.
Call me Mel. Some years ago- never mind how long precisely- having little or no money in my purse, and nothing particular to interest me at home, I thought I would ride about a little and see the other parts of the world.
User avatar
melville
Posts: 1815
Joined: Tue Aug 03, 2010 8:32 am

Re: Woo Hoo! A Big Project!

Post by melville »

Well I did get out to check the plug and everything is doing what it should, so it's back to the pod.
Call me Mel. Some years ago- never mind how long precisely- having little or no money in my purse, and nothing particular to interest me at home, I thought I would ride about a little and see the other parts of the world.
User avatar
melville
Posts: 1815
Joined: Tue Aug 03, 2010 8:32 am

Re: Woo Hoo! A Big Project!

Post by melville »

Taking a pause from those pesky electrons, I've got some parts back from my local airhead guy. He made a new wedding band, as the one I had was .4mm too narrow for the new bearings, repaired the bungled driveshaft drain plug threads, and got the stuck pinch bolt out of the RH fork slider. With all that, I have enough stuff on hand to make it a roller!

Today was checking the rear hub bearing adjustment. It was a bit of a Goldilocks experience--with the new wedding band, it was too tight; with a shim or two (thanks Duane!), it was too loose; and with a wee bit of wetsanding on the band it was just right.

Tomorrow, if the weather holds, I'll prep the sliders and continue with the fork alignment and reassembly.
Call me Mel. Some years ago- never mind how long precisely- having little or no money in my purse, and nothing particular to interest me at home, I thought I would ride about a little and see the other parts of the world.
User avatar
melville
Posts: 1815
Joined: Tue Aug 03, 2010 8:32 am

Re: Woo Hoo! A Big Project!

Post by melville »

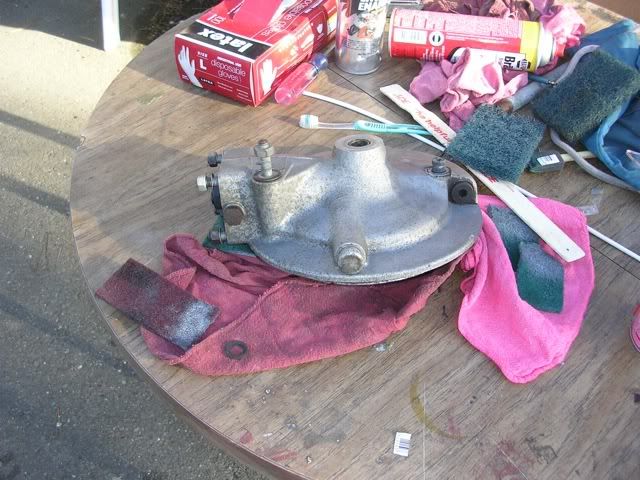
Today was probably the last day warm enough to work with paint for a while, so I worked on detailing the sliders and final drive in between geocaching with Mrs. melville and taking the younger boy to the skatepark.

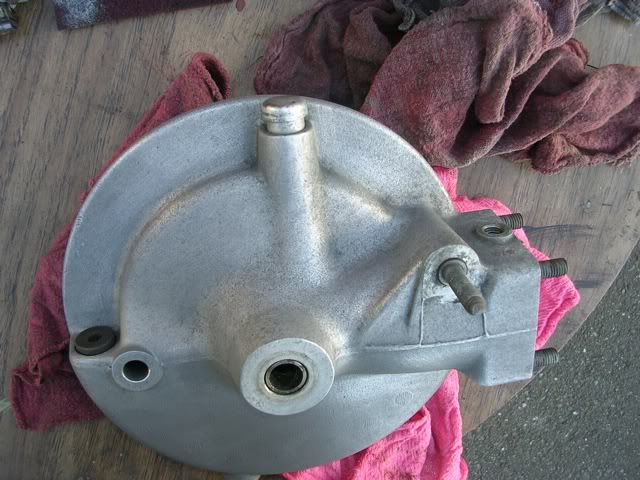
Final drive before:

Image

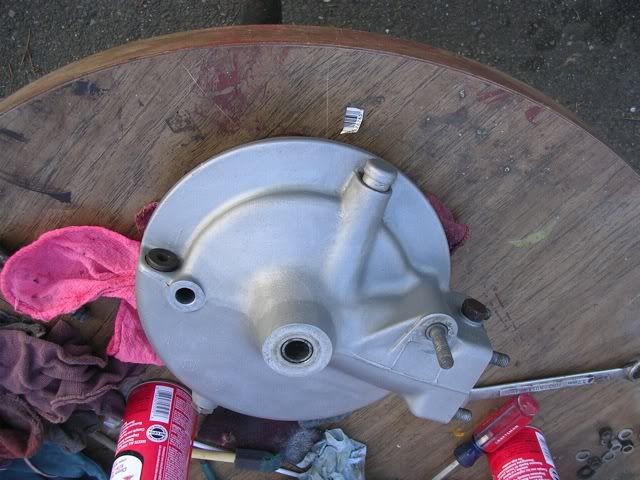
After cleaning and Scotchbriting:

Image

After paint applied, gspd style:

Image

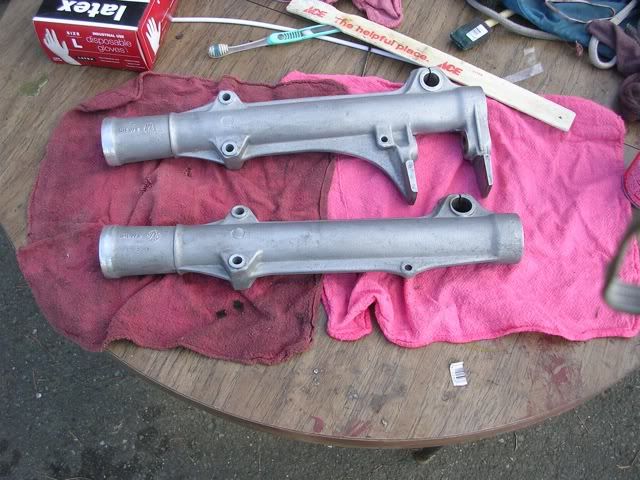
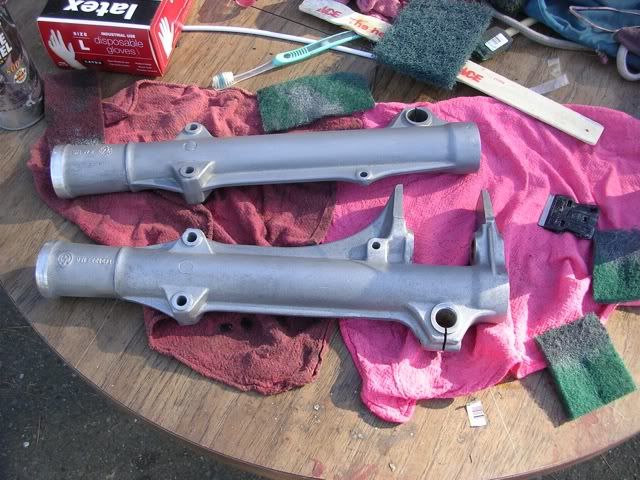
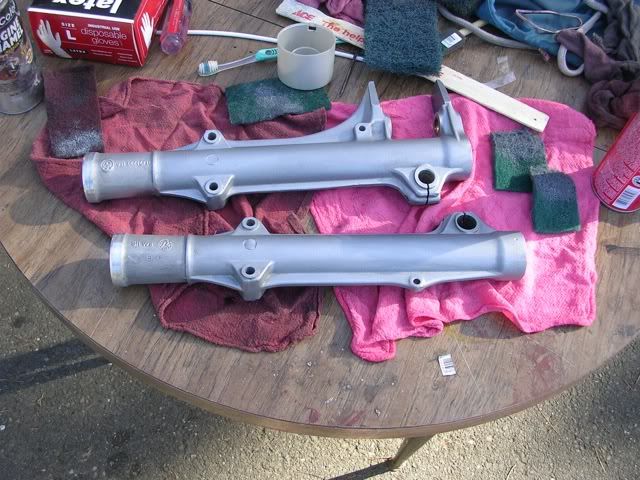
Sliders were cleaned months ago, so these pics show
1. cleaned

Image

2. paint on one

Image

3. paint on both

Image

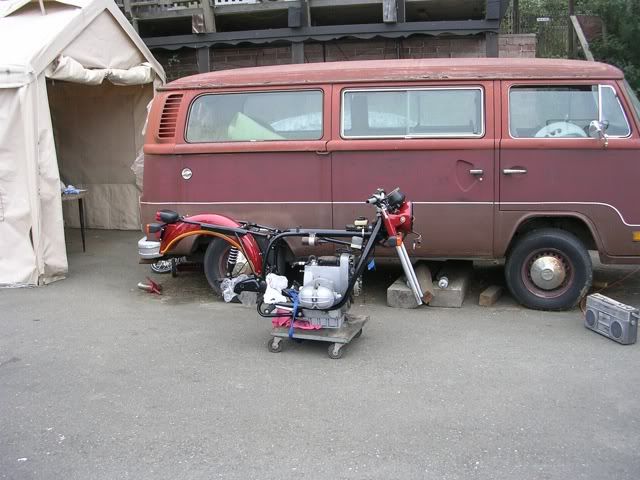
I've checked the sliders on the stanchions one by one and they move freely but I've got to get the bike raised from where it is:

Image

If I'm to get them both on at the same time and the front wheel installed following Randy Glass' procedure.
Call me Mel. Some years ago- never mind how long precisely- having little or no money in my purse, and nothing particular to interest me at home, I thought I would ride about a little and see the other parts of the world.
Chuey
Posts: 7632
Joined: Mon Aug 02, 2010 11:56 pm

Re: Woo Hoo! A Big Project!

Post by Chuey »

Cool Stuff! Only thing: in the last shot, it looks like your bike should be selling pencils on a busy sidewalk somewhere. :)

Chuey
Post Reply